
While some ferns can thrive in sun, most prefer shade, and many can be damaged by too much sun. I was recently gifted a Makinoi’s holly fern (Polystichum Makinoi) that was spotted in a garden center, lost amongst a table of annuals that were in full sun. The poor fern was suffering all the classic signs of sun damage:
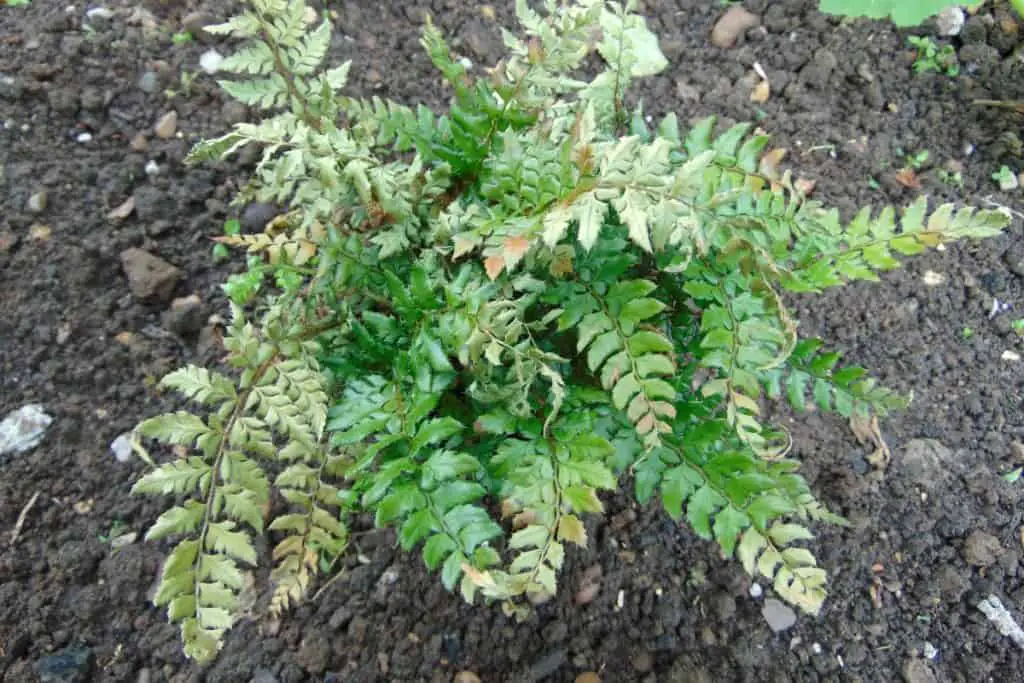
Many fronds were bleached out and papery. Some were completely dead, others were frazzled at the edges, and overall the plant seemed stunted and sickly. It also looked lop-sided with the left side and top of the fern suffering more damage than the rest of the plant – another hint that this was a sun problem rather than drought or pest infestation.
The key to reviving a sun damaged fern is to take things steady. Make sure the plant is moved to shade and watered well. Limit any further shocks – like pruning or repotting – until it has had a chance for recovery. Then prune back the damaged foliage, repot into fresh potting mix, and find a suitable new spot in the house or garden for it to bounce back and put on new growth.
The Makinoi’s Holly that was in such a poor state recovered impressively within a few weeks. Here’s a step by step guide to what was done to revive it.
1. Move to shelter and water well
The first step was to move the fern to a utility room with windows on two sides but none that are south facing. This environment was ideal because there is plenty of light, but no direct sun, and the temperature is moderate but not as warm as the main house. Our household also has regular laundry needs, and so the room is more humid than most too!
The soil in the pot was dry, and so I gave the fern a good soaking until water ran through the bottom. The fern was placed on a corrugated tray, so the base was not sitting in water, but the excess water that ran out could pool a little to increase humidity. To help even more, I gave the fronds a good misting each evening.
The goal here was to stabilize the plant and help it recover from the sun and drought, but without causing any additional stress.
2. Prune back the worst of the damage
After a few days of regular watering, the next step was to prune back the worst of the damage. For those fronds that were clearly completely dead, a set of clean, sharp shears were used to cut back to the base of the frond near the crown.
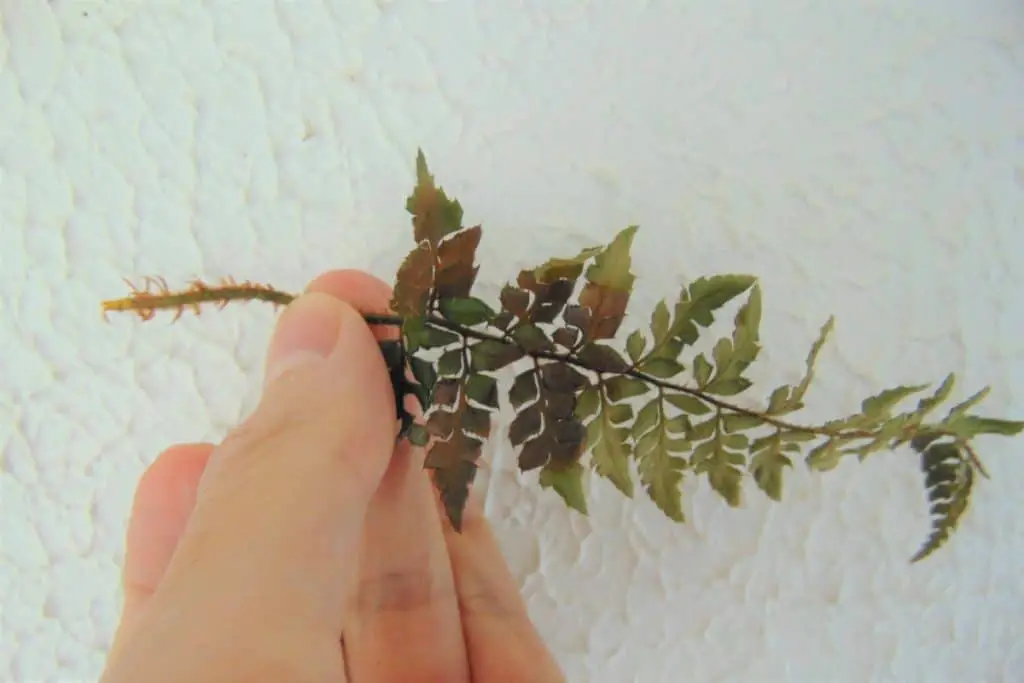
Fronds that had some damage, but also some healthy, green and glossy pinnae were left in place. This removes fronds that are doing the plant no good, and might become a source for infection, without reducing its capacity for photosynthesis.
Again, once this step was complete, the fern was left alone for a few more days, except for regular watering and misting.
3. Replant the fern into a larger pot
The next step involved making up a perfect potting mix. In this case, a standard multipurpose compost mix was supplemented with grit to improve drainage and limit the risk of the roots becoming waterlogged. I picked out a pot that was large enough to allow for plenty of growth, but not so large that the fern would be lost in it.
Typically, ferns can thrive in relatively shallow soil, and Makinoi’s Holly fern is a low-growing variety, peaking at less than a meter even under ideal conditions. That means that there would be more than enough nutrients in an eight inch pot, and the plant could be easily carried around.
The fern was re-potted so that the crown remained proud of the soil, and pressed gently into the new mix. Then, the whole pot was well watered again, and left to drain.
4. Move to the final location
After a couple more days, the fern was moved outside into a shady corner beside a seating area. This spot is shaded through most of the day, only getting some filtered sun in the late afternoon.
My overall goal was to keep this as a potted fern in the garden, as the variety is hardy enough to survive the winters where I live in the UK, but keeping it potted allows me to move it around as desired for ornamental effect.
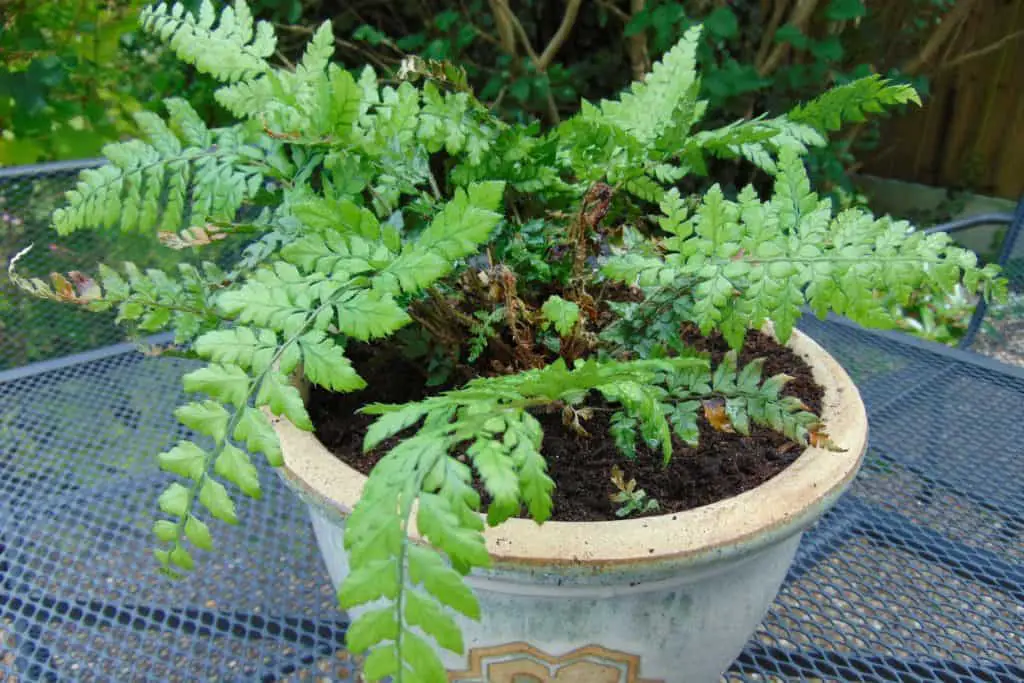
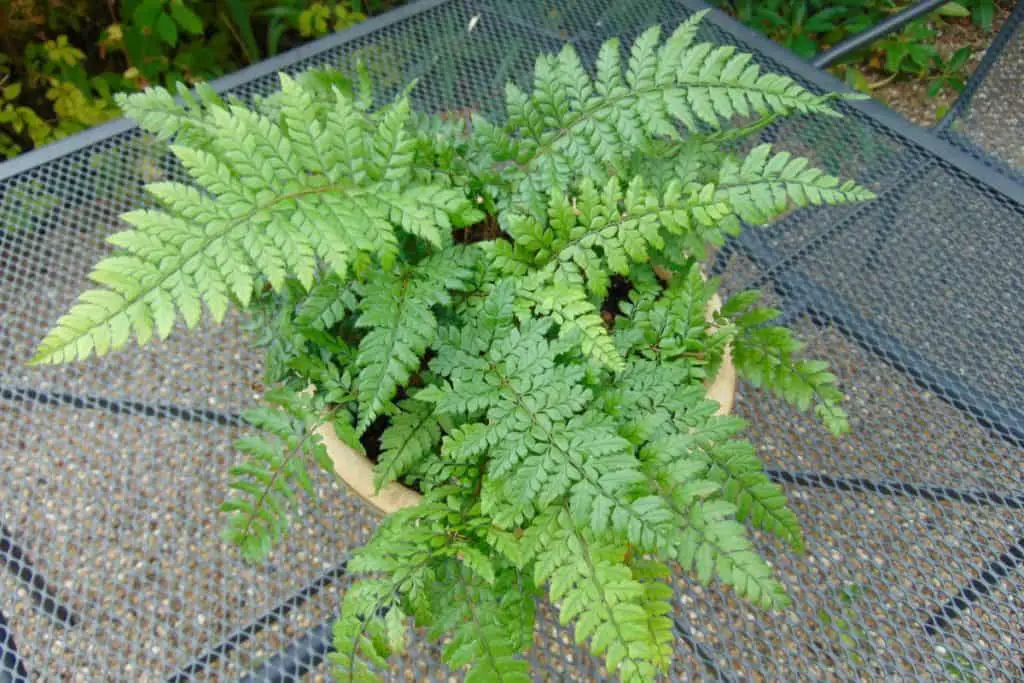
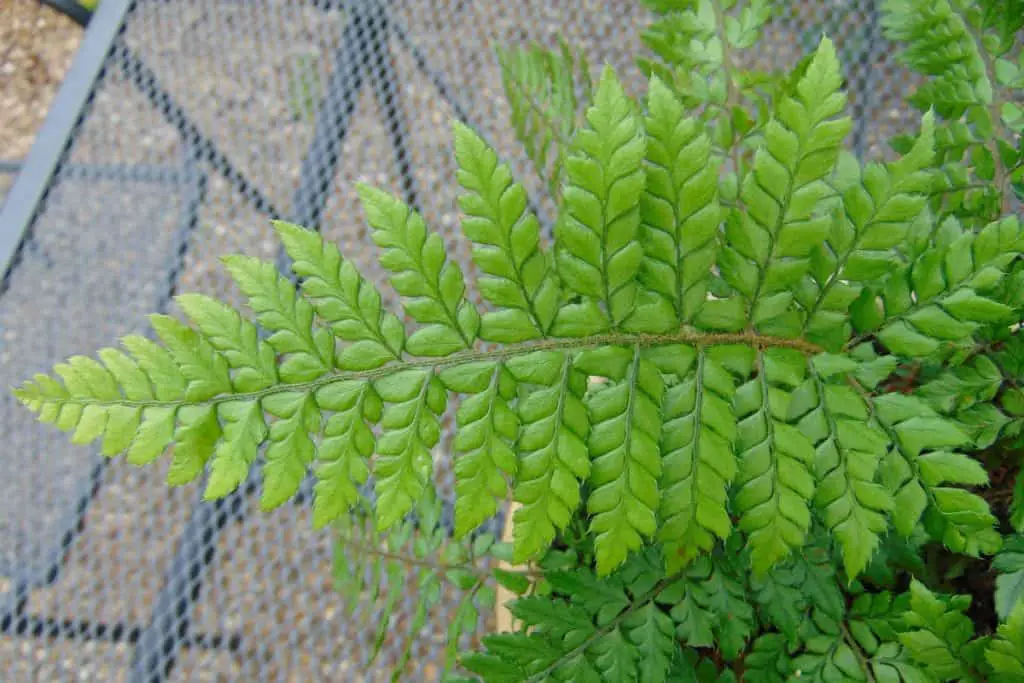
At this point – three weeks after starting the care routine – the fern had already put on an impressive number of new fronds. These are recognizable as beautiful, delicate, lime-green fronds that contrast from the glossier darker green of the mature fronds. Clearly, the fern was recovering.
5. Prune back the last of the old fronds
The fern was obviously bouncing back well, and so it had recovered enough to allow for a final pruning back. This time, the last of the partially damaged fronds were removed, leaving only healthy, intact foliage.
As before, clean, sharp shears were used, and the fronds were cut back down to the crown. A couple of dried out fiddleheads that had obviously been killed before they could unfurl were also cut back.
The fern in its pot was seated on gravel, meaning it would drain well after a thorough watering and also maintain some local humidity. Then it was simply left, happy in its final location, adding a little splash of green beauty to an otherwise dull corner of the garden.
6. Water on a routine
With the fern well on the path to recovery, all that remained is to keep it well watered, and leave it to enjoy its much improved condition in life.
After nine weeks, it is thriving:
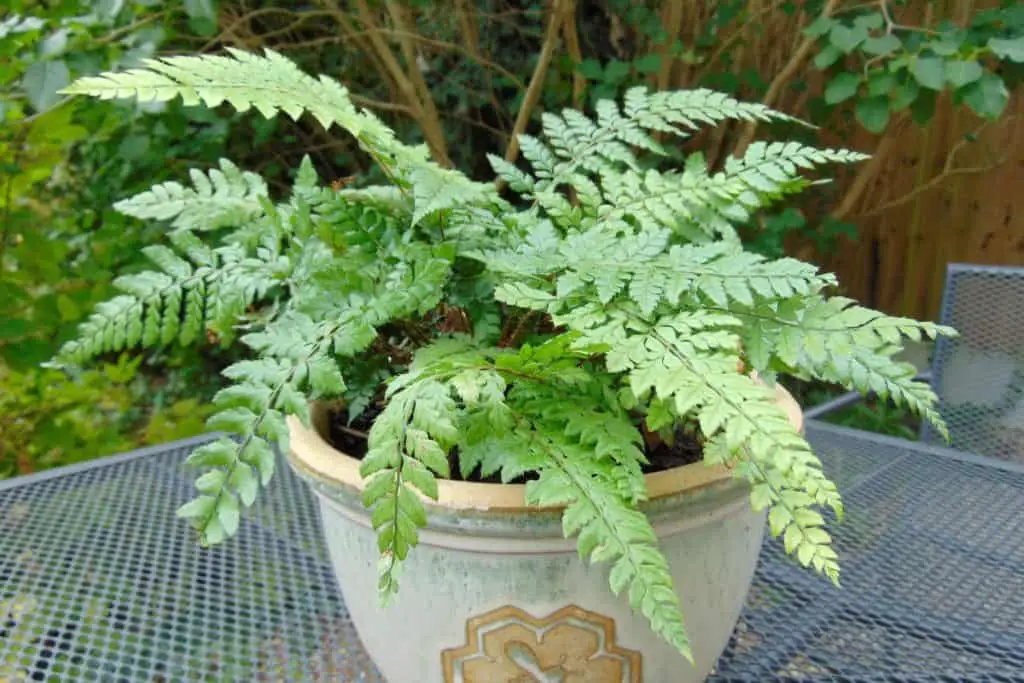
Sun damage to ferns can be well managed, and the fern fully revived, by following a slow and steady care routine. Moving in simple steps from the initial trauma to ideal conditions, while limiting additional stress, is the key to success.